Protect your home from costly water damage with GE Appliances Leak Detect Sensors powered by SmartHQ™ Solutions. This guide covers everything you need to unbox, install, pair, place, and maintain your sensors.


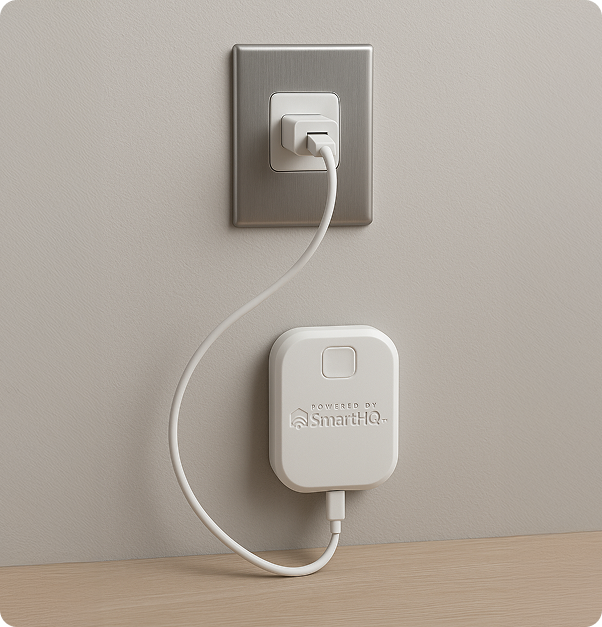
(Model SPLK10N01A)
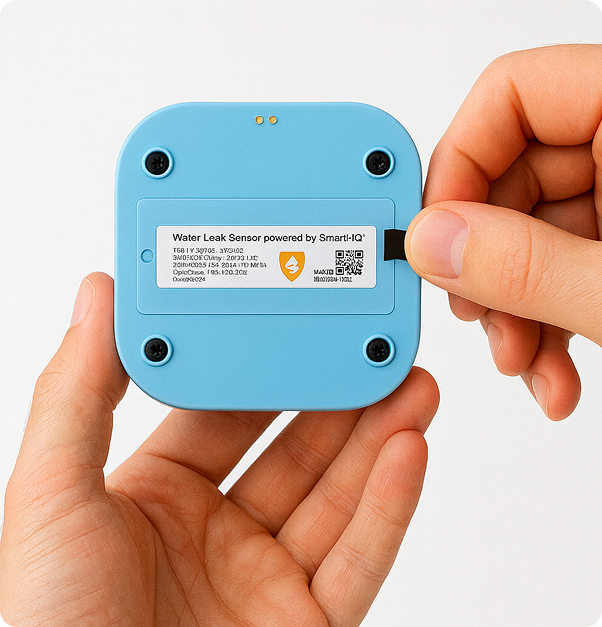
(Model SPLK30N01A)

5 V DC via included 5 W adapter; 2.4 GHz Wi‑Fi
3 V DC (2× AAA); 2.4 GHz; IP64 water‑resistant
#0/#00 Phillips, flat‑head screwdriver
Follow these steps for both 1‑pack and 3‑pack kits.


Use these common locations as a starting point.

Place near supply lines or P‑trap. Keep probes touching the cabinet base where water would collect.
Mount to the tank using the included tape. Orient with button up and probes low, over the pan.
Place at the back corner where a leak would flow. Avoid routine splash zones.
Place next to the line entry at the base. Ensure the probes are not blocked by trim.
Basements near sumps, crawl spaces, behind toilets—wherever early detection matters most.

Use only new alkaline, non-rechargeable
AAA batteries.
Remove one screw; loosen the other; lift cover carefully.
Replace both batteries.
Reseat cover and tighten screws (don’t over-tighten).
Tip: Replace both cells together.
⚠️ Warning: Wrong battery type may cause leakage or explosion. Dispose properly.
GE Appliances warrants the Leak Detect Sensor and Gateway against defects in materials and workmanship for one (1) year from the date of original purchase. If a defect arises during the warranty period under normal, intended use, GE Appliances will, at its option, replace the unit with a new or remanufactured unit.
Damage from misuse, alteration, improper installation, accidents, acts of God, or service/parts not authorized by GE Appliances.
GE Appliances is not responsible for consequential or incidental damages. Some states do not allow limitations on implied warranties, so these limitations may not apply.
To obtain warranty service, call 800‑220‑6899. Proof of purchase may be required.